Tucson Homeowners: Driveway Edging With Pavers Built for Durability
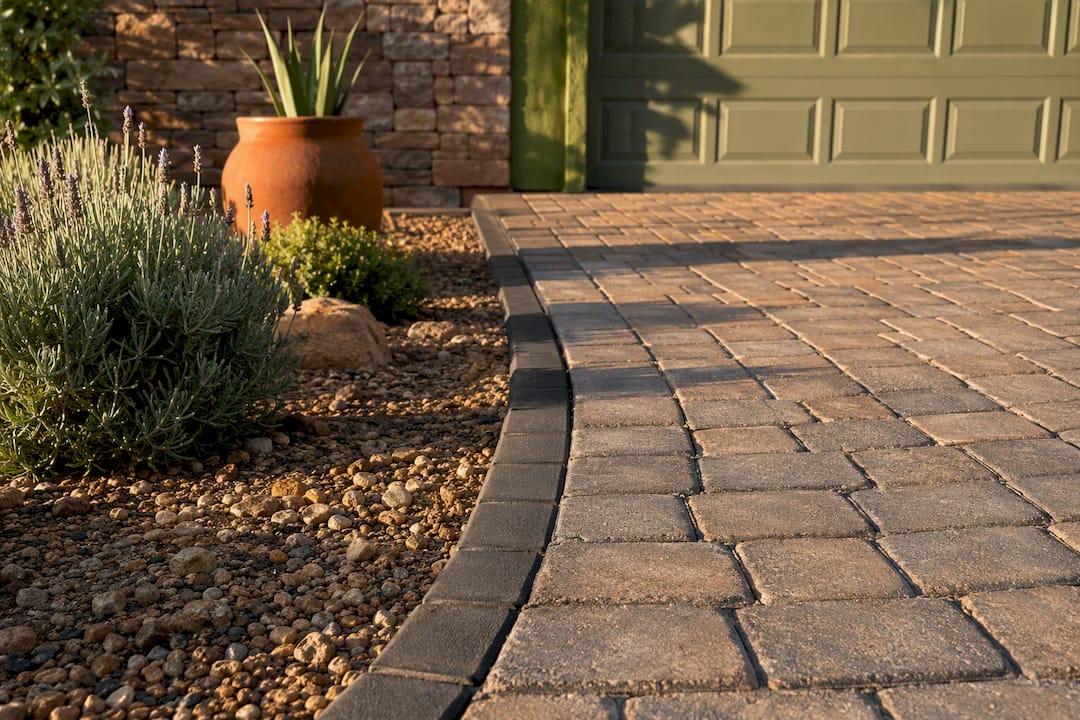
Tucson Homeowners: Driveway Edging With Pavers Built for Durability
For a driveway, the only edging that holds up long term is a structural paver restraint: steel or aluminum edge profile, trowel-applied concrete restraint, or stone/concrete setts set on a concrete haunch. Garden-grade plastic edging isn’t built for tire loads and typically fails fast. Base prep and compaction matter as much as the material itself. The steps below cover both.
TL;DR:
- Metal edge restraints, especially steel or aluminum, are the most durable options for driveway paver edging capable of handling vehicle loads over many years.
- Proper base preparation, including excavation, compacted gravel, and geogrid reinforcement, is essential to prevent edge failure regardless of the restraint material used.
- Installing restraints correctly involves setting pins at specified intervals, ensuring proper slope for drainage, and avoiding lightweight plastic or decorative edging not rated for vehicle weight.
- Site conditions such as turning radii, drainage slopes, soil type, and climate influence the choice of restraint and the depth of base layers to ensure long-term stability.
- Professional installation provides targeted site assessment, correctly matched materials, and warranty coverage, especially for long driveways, steep grades, or complex drainage conditions.
Table of Contents
- Which Materials Actually Hold Up for Driveway Edging With Pavers
- How Do You Install Paver Edging on a Driveway Step by Step?
- What Site Conditions Change Your Edging Approach?
- Design Choices That Still Hold Up Under Vehicle Load
- What Are the Most Common Driveway Edging Mistakes?
- How Do You Maintain Paver Edging on a Driveway?
- When Does a Driveway Edging Project Need a Professional?
- Priorities That Matter More Than Style
- Get a Driveway Paver Edging Quote From Jackpotlandscape
- Sources
Which Materials Actually Hold Up for Driveway Edging With Pavers
Not every edging product sold at a home center belongs on a driveway. Vehicle loads generate lateral force that pushes pavers outward every time a tire rolls across the surface, and only a handful of materials resist that kind of stress over years of use.
Metal edge restraints (steel or heavy aluminum) are the most common driveway-grade option. They come as L-shaped or angled profiles that spike into the compacted base with long anchor pins, typically 10 to 12 inches, driven at intervals along the run. Steel holds up slightly better under repeated flexing, but aluminum’s corrosion resistance and fatigue behavior make it a solid choice when you want a restraint that won’t rust at the pin holes over time.
Trowel-applied concrete edge restraints, sold under names like PermaEdge, work by mixing a polymer-modified concrete product and troweling it directly against the exposed base and geogrid. It cures into a continuous concrete lip that locks pavers in place without visible metal or plastic. Contractors reach for this option when they want a low-profile restraint that disappears into the landscaping.
Stone or concrete setts set on a poured concrete haunch give you a driveway edge that looks permanent because it is. Granite or sandstone setts laid as a soldier course, backed by a concrete haunch, resist tilting under direct tire contact far better than a thin restraint strip. A double row adds even more resistance where the edge takes repeated turning stress.
What you should skip entirely:
- Lightweight plastic or roll-out landscape edging, which flexes and pops loose under vehicle weight within a few seasons.
- Anything without a mechanical pin or concrete anchor system behind it.
- Decorative edging marketed for flower beds or walkways rather than vehicular applications.
Structural restraints prevent paver shifting under load, while landscape plastic is designed for soft borders only, and using the wrong category is the single most common reason driveway edges fail early. For gravel driveways specifically, pavers set as a hard border on either concrete or a sand base do a good job keeping loose stone from migrating onto the lawn, depending on how much long-term stability the project calls for.
How Do You Install Paver Edging on a Driveway Step by Step?
Getting the sequence right matters more than any single product choice. Skip a step here and even the best restraint material will loosen within a year or two.
- Mark the layout and call for utility locates. Before you dig anywhere near a driveway, get underground utilities marked. Measure your total run and add about 10% extra paver material for cuts and waste.
- Excavate the trench. Dig 2 to 3 inches deeper than your paver thickness. That extra depth leaves room for a 1 to 2 inch compacted gravel base plus roughly 1 inch of sand bedding underneath the paver itself.
- Compact the base in lifts. Spread gravel in shallow layers and run a plate compactor over each one rather than dumping it all in at once. For vehicular applications, add a layer of biaxial geogrid beneath the base to spread the load and cut down on long-term rutting.
- Install the edge restraint. For metal profiles, drive anchor pins at manufacturer-specified intervals, usually every 12 inches along straight runs and tighter on curves. For trowel-applied concrete restraint, expose the compacted gravel and geogrid first, then trowel the mixed product to roughly one-third of the paver’s thickness and about 4 inches wide before compacting it. For stone setts, pour and screed the concrete haunch behind the row before it sets.
- Set the bedding sand and lay the pavers. Screed a level sand bed, then place pavers tight against the restraint, working outward in your chosen pattern.
- Compact the finished surface. Run the plate compactor over the pavers using a protective mat to avoid scuffing, then sweep jointing sand into the gaps and compact again to lock everything in place.
- Check alignment and flushness. Walk the entire edge and confirm the restraint sits flush with the paver field, no gaps, no proud edges catching a tire or a snowplow blade.
Plan on a full weekend for a single-car driveway apron, longer for a full-length run, most of which goes into excavation and base compaction rather than the actual paver placement.
Pro Tip: Rent a reversible plate compactor rather than a vibratory plate meant for soil only. Driveway base material needs the heavier compaction force to reach the density that keeps pavers from settling under a parked car within the first year.
Technical contractor references, including industry tech sheets on pin spacing and embedment depth, back up these specs if you’re comparing bids from different installers and want to check whether a quoted scope actually meets driveway standards.
What Site Conditions Change Your Edging Approach?
A flat, straight driveway and a steep, curving one call for different edging decisions, even if the paver material is identical.
Turning points concentrate lateral load far more than a straight run does. Every time a driver cuts the wheel near a garage entrance or turnaround, the tire pushes sideways against the nearest paver row. Double or triple rows of border units add real structural resistance at these high-stress points, not just visual weight, which is why entrances and turning radii are where extra haunching pays off most.
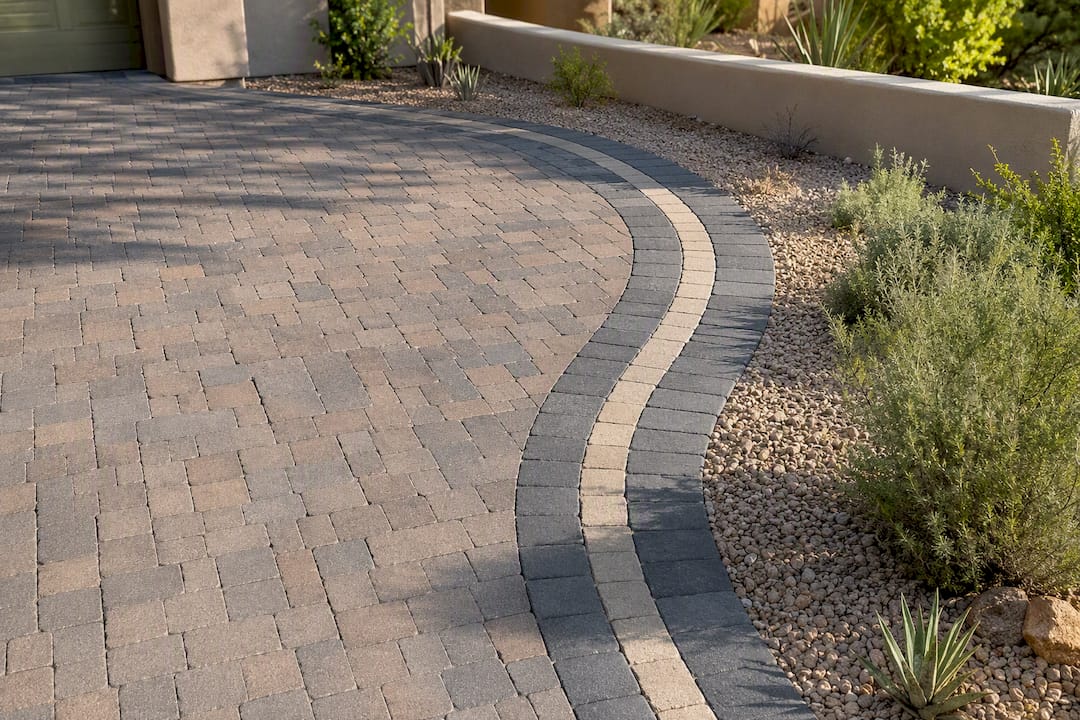
Drainage is the other variable that gets overlooked constantly. The edge restraint needs a slight slope away from the driveway surface so water sheds off rather than pooling against the base. Standing water at the edge saturates the gravel base, and saturated base material loses compaction fast, which is often the real root cause behind an edge that starts leaning within two years.
A few other site factors worth checking before you commit to a material:
- Expansive clay soils move seasonally with moisture, so a slightly more flexible metal restraint can outperform a rigid concrete haunch that’s prone to cracking.
- Freeze-thaw climates need deeper base material and pins set below the frost line to avoid heaving.
- Long driveways or heavy vehicles (RVs, work trucks) benefit from an added geogrid layer and a thicker gravel base than a standard passenger-car driveway.
- Steep grades need extra haunching at the low end, where water and load both concentrate.
Design Choices That Still Hold Up Under Vehicle Load
Structural performance and curb appeal don’t have to compete, but the order of priorities matters. Pick the load-bearing details first, then choose color and pattern within that framework.
A single row of setts works fine on straight, low-traffic sections, but a double row earns its keep at entrances and turning points where lateral force is highest. Many homeowners add a herringbone-pattern apron at the driveway entrance specifically because herringbone locks together better than a running-bond pattern under turning stress.
Color and texture should coordinate with the driveway field and the house facade, but stick to the same material family (concrete-to-concrete, stone-to-stone) so expansion rates match and the edge doesn’t crack differently than the field.
A few practical tradeoffs to weigh:
- Flush edges sit level with the driveway surface, so there’s no trip hazard and snowplows glide over cleanly, though they’re harder to spot at night without a color contrast.
- Slightly raised edges define the border more clearly and help with drainage direction, but they need a beveled profile to avoid catching a plow blade or a tire.
- Transitions to lawn or a walkway work best with a matching soldier course rather than an abrupt material change.
What Are the Most Common Driveway Edging Mistakes?
Most driveway edging failures trace back to one of a handful of repeat offenders, and nearly all of them are avoidable with the right prep.
- Using landscape-grade plastic edging. It flexes under the first heavy vehicle and pulls loose within a season or two. The fix is to remove it entirely, then excavate down to a structural base and install a mechanical or concrete restraint with proper haunching.
- Skipping or rushing compaction. If pavers rock underfoot or the edge has visibly sunk, the base likely wasn’t compacted in proper lifts. The repair means pulling the affected pavers, adding and re-compacting gravel, then resetting.
- Ignoring drainage grading. Standing water at the base of the edge is the giveaway. Regrading the slope away from the driveway, or adding a small drain at a low point, usually solves it.
- Partial retrofits done cheaply. Replacing just a few feet of failed restraint without checking the base underneath often just delays the same failure by another season.
How Do You Maintain Paver Edging on a Driveway?
A quick seasonal walk-through catches most problems while they’re still cheap to fix. Twice a year, check joints for washed-out sand, look for any section of restraint that’s tilted or pulled away from the paver line, and note any spot where water pools after rain rather than draining off.
Small repairs are genuinely DIY-friendly: lift the affected pavers, top off and recompact the gravel underneath, reset the pavers, and refill joints with fresh polymeric sand.
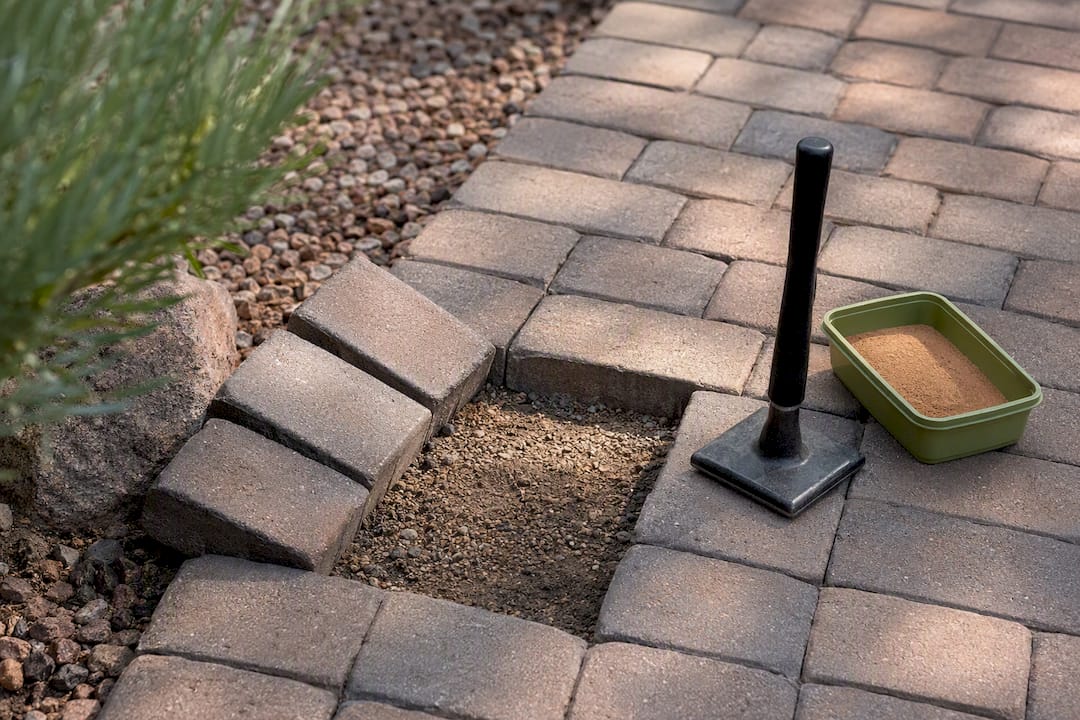
Pro Tip: Keep a small bag of matching jointing sand on hand after your original install. Sand that’s sat exposed for a season fades slightly, and using leftover sand from day one keeps repaired sections from standing out.
If more than a short stretch has shifted, or the same section keeps failing after a repair, that’s usually a sign the sub-base itself has a drainage or compaction problem that needs professional regrading rather than another patch.
When Does a Driveway Edging Project Need a Professional?
Some driveway edging jobs are genuinely manageable as a weekend DIY project. Others aren’t, and knowing the difference before you start digging saves you from tearing out a failed edge a year later.
Jackpotlandscape has spent over 15 years installing interlocking pavers across Tucson and Southern Arizona, and the projects that consistently go wrong for DIYers share a pattern: long driveway runs, steep grade changes, or drainage that has to route around a house foundation. Getting the haunching depth and slope right on those jobs takes site-specific judgment that’s hard to get from a how-to article alone.
A professional installation typically brings:
- A site visit that catches soil and drainage issues before they become expensive failures.
- Access to geogrid, haunching, and restraint specifications matched to your exact vehicle load and climate.
- A written scope and warranty backing the work.
You can browse recent paver installation projects across the region to see how edge details hold up in real desert conditions, or look at completed driveway paver work for a sense of typical scope and finish quality.
Priorities That Matter More Than Style
Most driveway edging failures I’ve looked into don’t come down to picking the wrong material outright. They come down to homeowners choosing based on looks first and structural fit second, when it should be the other way around. A gorgeous stone sett border set on a shallow, poorly compacted base will still tilt within two years, while a plain aluminum restraint installed with proper pins and a solid gravel base can outlast the driveway itself.
If you’re planning this project, DIY or hired out, bring one checklist to the table: correct trench depth, compacted base, a restraint rated for vehicle load, and a slope that sheds water away from the edge. Everything else, color, pattern, row count, is a preference. Get those four right, and the finish work basically takes care of itself.
— Noah
Get a Driveway Paver Edging Quote From Jackpotlandscape
Jackpotlandscape is the direct route to a driveway edge that’s actually built for vehicle loads, not a guess based on a weekend of research. As a Tucson and Southern Arizona hardscape crew with over 15 years installing interlocking pavers in desert soil conditions, the team handles the parts that go wrong most often on DIY jobs: reading how your soil drains, sizing the base for your specific vehicle loads, and haunching the edge correctly at turns and entrances.

A typical project starts with a site visit and a soil and drainage assessment, followed by a written scope so you know exactly what base depth, restraint type, and paver pattern you’re paying for before work begins. From there you get a timeline estimate based on your driveway’s length and site conditions. If you’re ready to see what a properly restrained driveway edge costs for your property, request a quote on paver installation and get a scope built around your specific site.
Sources
- Edge restraints: the differences, pros and cons — Polycor
- How to install Perma paver edging for driveways and garages — Western Interlock
- Inexpensive gravel driveway edging ideas — The Spruce (2025)