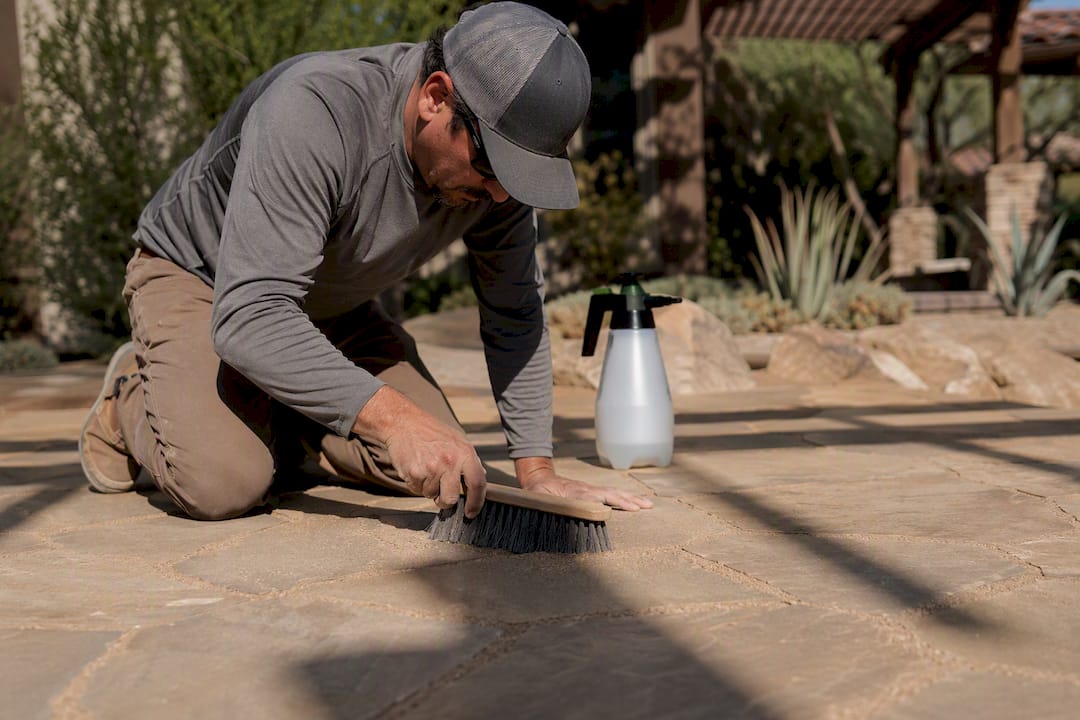
Most polymeric sand failures trace back to three things: moisture (too much or too little), a rushed or wrong watering step during activation, and joints that were never cleaned or filled correctly before the sand went down. Before you buy a bag of replacement sand, spend five minutes on triage.
- Press a finger into the joint. If it’s still damp or spongy days after the last rain, you have a drainage or moisture problem, not a sand problem.
- Look closely at the surface for a white haze, crumbling edges, or gaps where sand has pulled away from the paver edge.
- Photograph every problem area now, before you touch anything. You’ll need these later if you end up calling a contractor.
Small, isolated haze or minor crumbling is usually a weekend DIY fix. Washout that keeps returning after repair, or joints that feel hollow underneath, points to a base or drainage issue that sand alone won’t solve.
Key Takeaways
Most polymeric sand failures come from three fixable causes: moisture, incorrect activation, and joints that were never cleaned or filled correctly.
| Point | Details |
|---|---|
| Diagnose before you buy sand | Check for dampness, haze, and hollow joints to tell a surface fix from a base problem. |
| Watering technique is critical | Follow the exact water timing on the bag; too much or too little both cause failure. |
| Never top old joints | Remove failed sand completely rather than layering new sand over loose material. |
| Match product to joint width | Sand rated for the wrong gap size shrinks, cracks, or never bonds properly. |
| Call a pro for base issues | Jackpotlandscape diagnoses and repairs drainage and base failures that DIY sand fixes can’t solve. |
Table of Contents
- The 7 Most Common Polymeric Sand Problems (and How to Fix Each One)
- How to Repair Failed Polymeric Sand Joints
- Preventing Polymeric Sand Problems Before They Start
- When to Call a Professional
- Get a Guaranteed Paver Repair or Reinstall from Jackpotlandscape
- Sources
The 7 Most Common Polymeric Sand Problems (and How to Fix Each One)
1. Damp or wet pavers before installation. Sand activated on a surface that wasn’t fully dry never bonds correctly. The polymers start curing prematurely against trapped moisture, leaving a weak, chalky joint. Fix it by removing the affected sand, letting the area dry for at least 24 hours in the sun, and reapplying. Going forward, never install after rain until the pavers have had a full dry day.
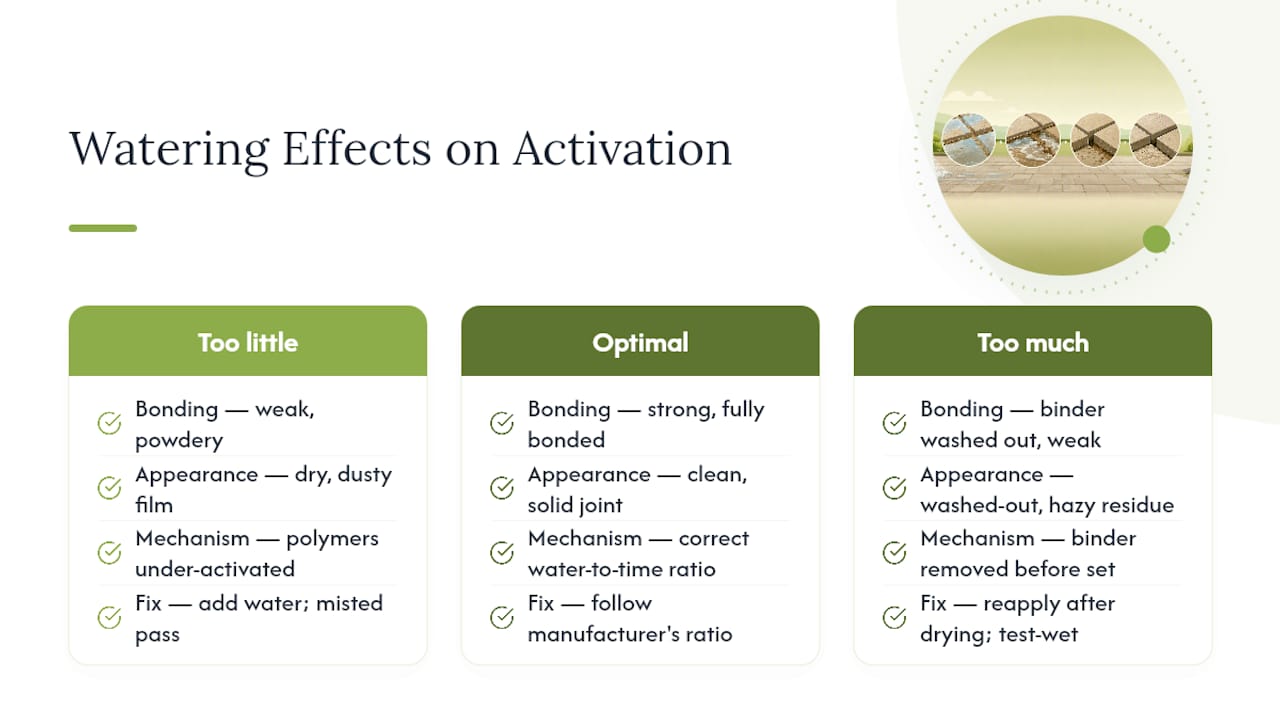
2. Incorrect watering during activation. Too little water leaves the polymers under-activated and powdery; too much washes the binder right out of the joint before it sets. This is the single most cited cause of failure, and it’s also the easiest one to get wrong on a first attempt, according to Hardscape Magazine’s breakdown of polymeric sand failures. Follow the manufacturer’s water-to-time ratio exactly, and water in a fine, misted pass rather than a hard stream.
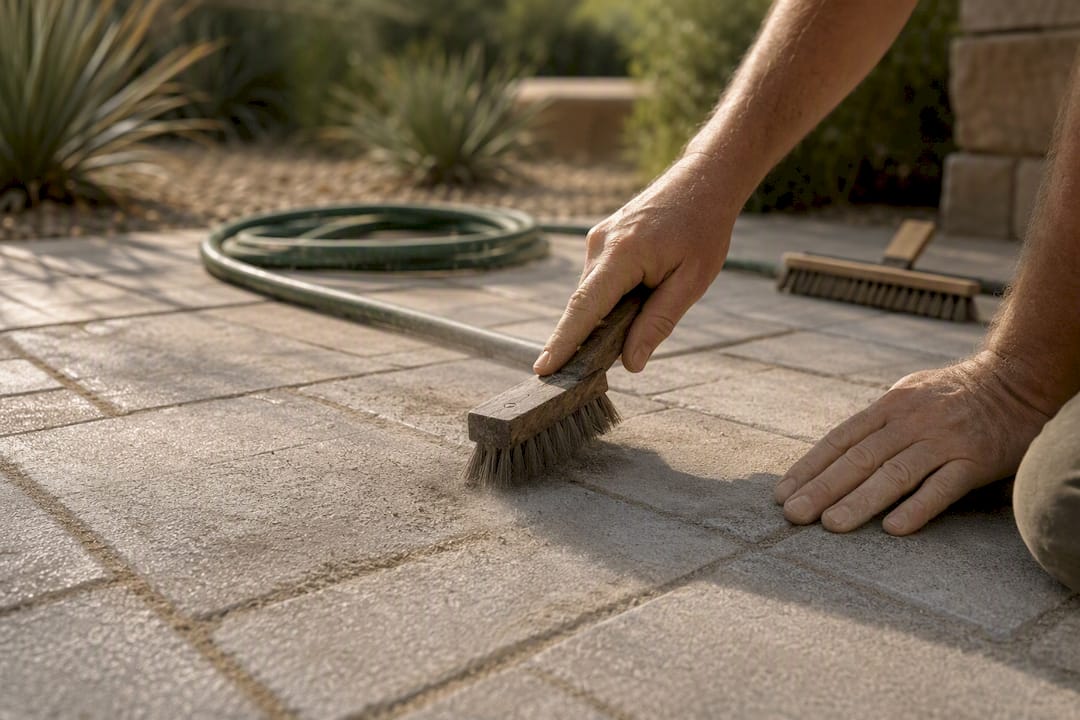
3. Excess sand left on the paver surface. If sand isn’t swept and blown off completely before watering, the leftover film cures into a hazy, cement-like residue bonded to the paver face. It’s cosmetic, but it’s stubborn. A garden hose and a stiff brush handle light cases; a light acid wash or specialty haze remover handles the rest. Prevention is simple: blow the surface twice, not once, before you ever pick up the hose.
4. Shallow joints or skipped compaction. Sand that sits loose or wasn’t packed into the joint has nothing to grip. It shifts under foot traffic and washes out within a season. The fix means pulling the loose material and refilling to the correct depth with real compaction, not just topping it off.
5. The wrong product for the joint width. Not every polymeric sand is rated for the same gap. A fine-grain sand pushed into a wide paver joint, or a coarse sand forced into a narrow one, tends to shrink, crack, or never fully bond, since product selection matters as much as installation technique. Check the bag’s joint-width rating before buying, not after.
6. Poor drainage or edge restraint failure. If water pools against the pavers or the edge restraint has shifted, joints stay saturated and eventually erode from below. This usually means fixing the base or grading, not just the sand.
7. Climate stress: heat, UV, and freeze-thaw cycles. In hot, dry regions, sun exposure can crust the sand’s surface before the material underneath finishes curing, leaving a hard shell over a soft core that fails under weight. In colder climates, repeated freeze-thaw cycles push and crack rigid joints, especially in cement-heavy formulas that lack flexibility, per Black Diamond Coatings’ material breakdown. Choose a flexible, climate-rated formula and time installation for stable weather.
Pro Tip: Before you activate a full patio, test-wet a one-square-foot section first. If it crusts white and hard within minutes, your water volume or timing is off, and you’ll want to adjust before committing the rest of the joints.
Pro Tip: Freshly activated joints need 24 to 48 hours of protection from sprinklers and rain. Shut off irrigation zones near the pavers and check the forecast before you start.
How to Repair Failed Polymeric Sand Joints
You’ll need a stiff broom, a leaf blower (gas-powered gives you better control than electric), a joint cleaning tool or flathead screwdriver, a shop vacuum, a hose with an adjustable spray nozzle, new polymeric sand rated for your joint width, and a plate compactor with a protective pad if you’re covering more than a small patch.
- Remove all loose or failed sand from the joints using the cleaning tool, working down to solid material.
- Vacuum or blow out remaining dust and debris so the joint is completely clean.
- Check joint depth. If it’s shallower than the manufacturer’s minimum, don’t just top it. Sand applied over old, loose material rarely bonds, so pull it fully and start fresh.
- Confirm the base underneath is solid, not soft or sunken.
- Let everything dry completely, then pour new sand and sweep it into the joints to the correct depth, typically 1/8 inch below the paver’s top edge.
- Compact if needed to settle the sand fully into the gap.
- Blow and sweep the surface thoroughly. Every leftover grain becomes a haze spot once it’s wet.
- Water in a fine mist per the product’s instructions, not a heavy stream.
- Keep the area free of foot traffic and irrigation for the full cure window, generally 24 to 48 hours depending on temperature and humidity.
Pro Tip: Work in the cooler part of the day in hot climates. Applying sand at midday risks the surface crusting before the material underneath finishes curing, which is exactly what causes it to fail again a few weeks later.
Avoid pressure washing for at least a week after activation, and check the weather for at least two dry days before you start.
Preventing Polymeric Sand Problems Before They Start
Getting the installation right the first time costs less than fixing it twice.
Installation rules:
- Match joint width to the product’s rated range. Most polymeric sands aren’t built for gaps under 1/8 inch or beyond roughly 4 inches.
- Choose a flexible, polymer-forward formula over a cement-heavy one if your climate sees freeze-thaw cycles or heavy vehicle traffic.
- Compact pavers before sanding so joints don’t settle unevenly afterward.
- Fill joints to the full recommended depth, finishing about 1/8 inch below the paver surface.
- Blow and sweep the surface completely before wetting. This step gets rushed more than any other.
- Water slowly and evenly, following the product’s specific timing.
Maintenance schedule:
- Blow off debris seasonally to keep joints from trapping organic material that breaks down the sand.
- Clean gently. Skip harsh pressure washing on established joints; a garden hose usually does the job.
- Spot-repair small cracks or gaps as soon as you see them rather than waiting for a full washout.
- Inspect after major storms, since heavy or sudden rain can disrupt curing joints that haven’t fully set.
Don’t do this:
- Don’t install polymeric sand in constantly submerged areas like pond edges or low spots that never drain.
- Don’t top old, failed joints instead of removing them completely.
- Don’t pressure wash within a week of a fresh installation.
- Don’t use polymeric sand outside the manufacturer’s joint-width specification.
When to Call a Professional
Some failures are beyond a bag of sand and a Saturday afternoon; in these cases, hiring a professional paver installer can ensure proper repair and lasting results. Call a pro when:
- The base beneath the pavers has shifted, sunk, or eroded.
- Washout keeps happening even after you’ve repaired it correctly.
- You’re dealing with drainage or grading problems across a large patio, driveway, or pool deck.
- The project covers more area than you can realistically complete in one dry weather window.
Before hiring, ask a contractor these questions:
- How much experience do you have installing polymeric sand in this climate specifically?
- Can I see photos or references from similar repair jobs?
- What’s your warranty or guarantee on the work?
- How do you handle base and drainage issues if they turn up mid-project?
A qualified installer will typically inspect the site, document existing problems with photos, give you a realistic timeline, and leave the area clean when the job wraps.
Rookie Mistakes We Fix Every Season
Beginners almost always skip the surface cleanup step, leaving haze that shows up days later. Try this: push a finger firmly into a joint. If it crumbles or feels hollow, it’s underfilled or under-activated.
Get a Guaranteed Paver Repair or Reinstall from Jackpotlandscape
If you’re staring at crumbling joints and don’t want to gamble on a second DIY attempt, Jackpotlandscape handles full diagnostics, repair, and reinstalls, including correcting the base and drainage issues that cause polymeric sand to fail again and again in Southern Arizona’s heat.

Our crews know how this climate behaves differently than a mild coastal region. Intense summer sun crusts joints fast, and a monsoon downpour can undo a rushed activation in minutes. Every repair starts with an honest look at whether the sand failed or the base did, because patching one when it’s actually the other just buys you another failure next season. We back our paver installation work with craftsmanship built for desert conditions, and we handle everything from a single failed patio joint to a full driveway reinstall. If your project involves irrigation lines running near the joints, take a look at how we handled a similar setup on a backyard turf and paver installation in Sahuarita. Ready to stop patching the same spot every few months? Request an estimate through our paver services page and get a straight answer on what’s actually wrong.
Sources
- Demystifying polymeric sand | Hardscape Magazine
- Problems with Polymeric Sand - How We Solved This Failure
- Why Is My Polymeric Sand Washing Away? — North Valley Stone Supply LLC
- What Is Polymeric Sand? | Black Diamond Coatings